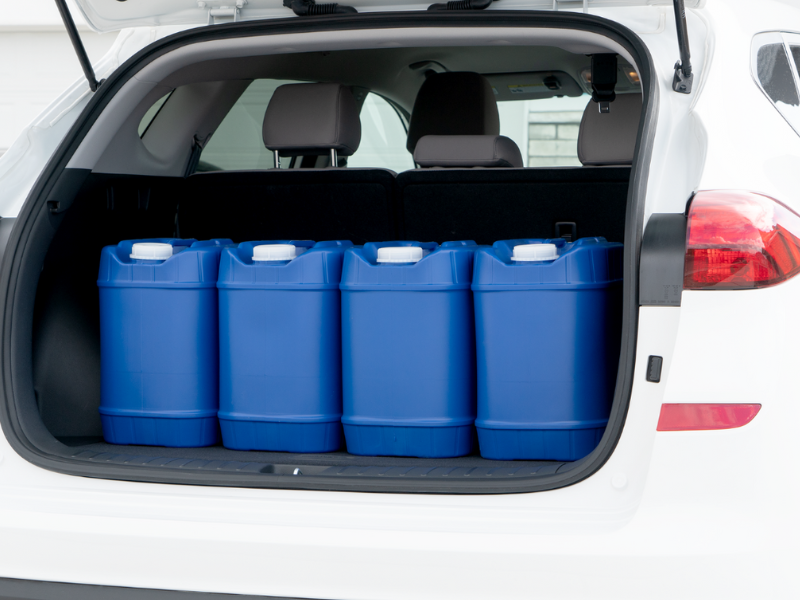
In an emergency, having a secure water source is essential. Municipal water sources aren’t always reliable for clean, uncontaminated water. Digging your own well provides a simple solution, and the easiest, most cost-effective way is to drive a well. Here’s what you’ll need and how to get started:
Materials Needed
- Wellpoint (drive point): A pipe with a solid, pointed end and small openings that allow water in while blocking larger particles.
- Riser Pipes: 5-6 feet in length, used to extend the wellpoint.
- Pipe Couplings: Attach wellpoint and riser pipes.
- Drive Cap: Protects the riser pipe while pounding.
- Thread Compound: Seals pipe joints.
- Post Hole Digger or Auger
- Sledge Hammer or Post Driver
- Two Pipe Wrenches
Step-by-Step Guide to Driving a Well
- Choose the Right Site: Select a site where the water table is within 25 feet of the surface and the soil isn’t clay- or rock-heavy. You may need a permit for your well. Stay at least 100 feet from potential contaminants like dry wells or septic tanks.
- Select Your Wellpoint: Consult your local hardware store to find the correct type for your area. Note: Stainless steel wellpoints last longer and resist mineral build-up.
- Pre-Dig the Hole: Dig a 2-3 foot deep hole, about 2 inches wider than the wellpoint, using a post hole digger or auger.
- Prepare the Wellpoint: Rub bar soap around its holes to reduce friction and keep out sand while driving.
- Attach the First Riser Pipe: Securely connect the riser pipe to the wellpoint with a coupling, cleaning threads and using thread compound. Tighten with two pipe wrenches to avoid twisting pipes into the ground.
- Drive the Wellpoint: Ensure it’s vertical with a plumb bob or level. Use the sledgehammer or post driver to pound it into the ground until about 2 feet of the riser pipe remains above ground.
- Add Riser Pipes: Repeat the attachment process until you reach the desired depth or hit water. You’ll know you’ve reached water when a string lowered into the well comes back wet, or the pounding sound changes.
- Install a Pump: Finish by installing a hand, electric, or gas pump according to manufacturer instructions.
- Clear the Water: To remove silt and sand, flush the well by sending a water hose down the pipe or by pumping quickly until the water runs clear.
Note: Have your water tested to ensure it’s safe for drinking.
Finding the Best Spot for Your Well
Keep Distance from Contaminants: Ensure the well is at least 100 feet away from contaminants like animal pens, septic tanks, or sewer lines.
Divination
Also known as "water witching," divination uses a tool to sense underground water sources. Hold the tools parallel to the ground and walk; the tools will supposedly tilt downwards when water is near. Though not scientifically proven, this method has been used for centuries.
Topography
Water sources are often found in low-lying areas like valleys. Vegetation clusters, like groups of trees, can also indicate a water source nearby. If there are ponds, rivers, or lakes in the area, follow their natural flow to find underground water.
For a video tutorial, click here.
Have you tried creating your own water source? Share your experiences and methods in the comments below.


