Storing water may seem simple, but doing it correctly ensures your water remains safe and drinkable during emergencies. Follow these five easy steps to properly store water and avoid any unpleasant surprises.
Step 1: Clean Your Water Storage Container
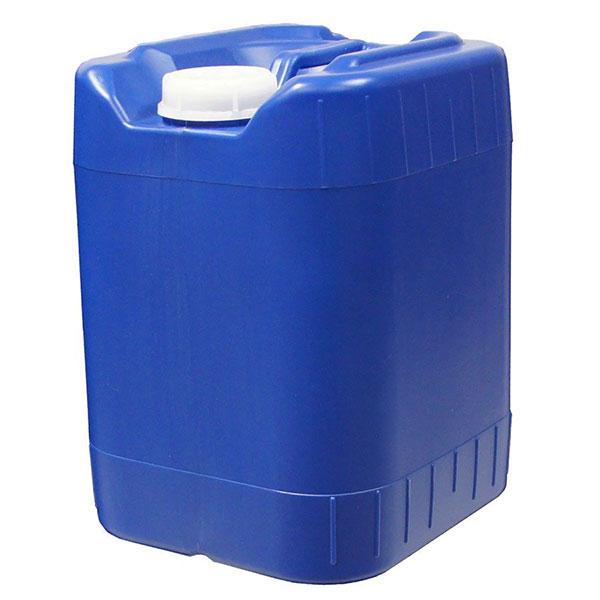
Before filling any container, clean it thoroughly to remove contaminants. Here's how:
- Wash the container with dish soap and water.
- Rinse well to remove all soap residue.
- Sanitize the container by mixing 1 teaspoon of liquid household bleach with 1 quart of water.
- Rinse again to ensure it's clean before filling.

Step 2: Fill with Tap Water
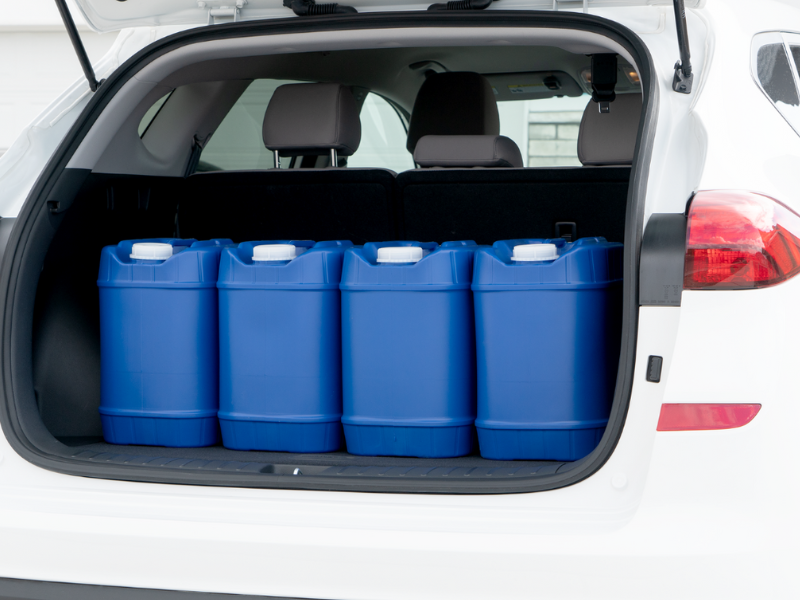
Use clean, potable tap water to fill your containers. For larger containers like 15-30 gallons, a hose may be useful.
WARNING: Standard garden hoses may contain a lead lining and are unsafe for water storage. Use a lead-free or food-grade hose instead.
Step 3: Extend Water Shelf Life with Preservatives
Tap water can safely be stored for up to 6 months. To extend the shelf life, treat your water with a water preserver. Add 8 drops per gallon to store water safely for up to 5 years.
Step 4: Label and Track Your Storage
Clearly label your water containers with the date they were filled. Follow these rotation guidelines:
- Chlorine-treated tap water: Rotate every 6 months.
- Water with preservers: Rotate as indicated on the preserver's instructions.
Step 5: Store in a Cool, Dry, and Dark Place
Keep your water containers in a location that is:
- Cool and away from direct sunlight.
- Dry to prevent mold or contamination.
- Safe from leaks—avoid storing near items that water could damage.
Storage Tip: Keep a drain nearby or ensure easy outdoor access to dump and refill your water containers as needed.
For better-tasting water after long storage, pour it back and forth between two containers before drinking.
Final Thoughts
Following these five steps ensures your emergency water supply stays clean, safe, and drinkable. Proper water storage can make all the difference during unexpected emergencies.


