Being self-sufficient doesn’t just mean growing your own food; it also includes maintaining a healthy lifestyle, which starts with staying clean! Making your own soap is a great way to save money and create a product tailored to your family’s needs.
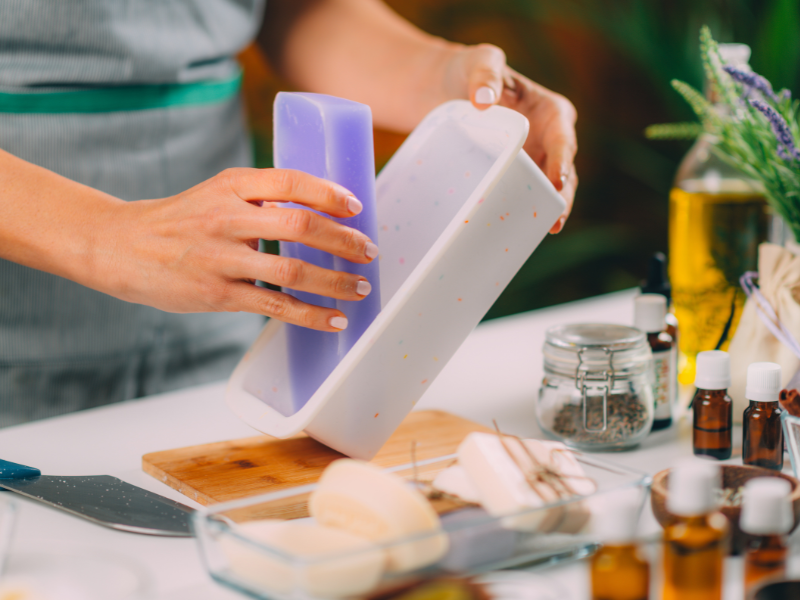
Important Safety Note: Soap making can be dangerous if the ingredients are not measured or handled properly. Always take precautions and follow these steps carefully.
Ingredients and Supplies
Ingredients
- 6.9 oz Lye (sodium hydroxide)
- 2 cups Distilled Water (refrigerated)
- 2 cups Canola Oil
- 2 cups Coconut Oil
- 2 cups Palm Oil
Supplies
- Goggles
- Gloves
- Face Mask
- Mold for soap (e.g., cake loaf pan, large PVC pipe)
- Plastic wrap or wax paper
- Large glass bowl
- Wooden spoon for mixing
- 2 Thermometers
- Stainless steel or cast-iron pot
- Hand-held stick blender (optional)
Step-by-Step Directions
- Prepare your workspace: Wear goggles, gloves, and a face mask. Work in a well-ventilated area or outdoors.
- Prepare molds: Line your soap molds with plastic wrap or wax paper and set them aside.
- Mix lye solution: Slowly add the lye to the cold, distilled water in a glass bowl. Do not add water to lye! Stir continuously until dissolved. Let the mixture cool to 110°F, checking with a thermometer.
- Heat oils: Combine the oils in a pot over medium heat. Stir until melted together. Let the mixture cool to 110°F, checking with a separate thermometer.
- Combine lye and oils: Carefully pour the lye solution into the oil mixture in a slow, steady stream, stirring constantly. Continue stirring by hand or with a stick blender until the mixture reaches a thin pudding-like consistency (this may take 30-60 minutes).
- Pour into molds: Once the mixture thickens, pour it into the prepared molds. Let it sit for several hours.
- Test firmness: After a few hours, poke the soap gently. If it doesn’t melt back into itself, it’s ready to be cut into bars using a table knife. Leave the bars in the mold for a few more days.
- Cure the soap: Remove the bars from the mold and place them on brown paper (like grocery bags) in a dark area. Let the soap cure for at least four weeks before use.
Customize Your Soap
While stirring the soap mixture, you can add various ingredients to customize your bars:
- Colors: Add natural or cosmetic-grade dyes to change the color.
- Essential Oils: Include scents like lavender, eucalyptus, or tea tree oil.
- Textures: Add oatmeal, herbs, or dried flowers for an exfoliating effect.


