Extend the shelf-life of your food with our comprehensive guide on sealing Mylar bags.
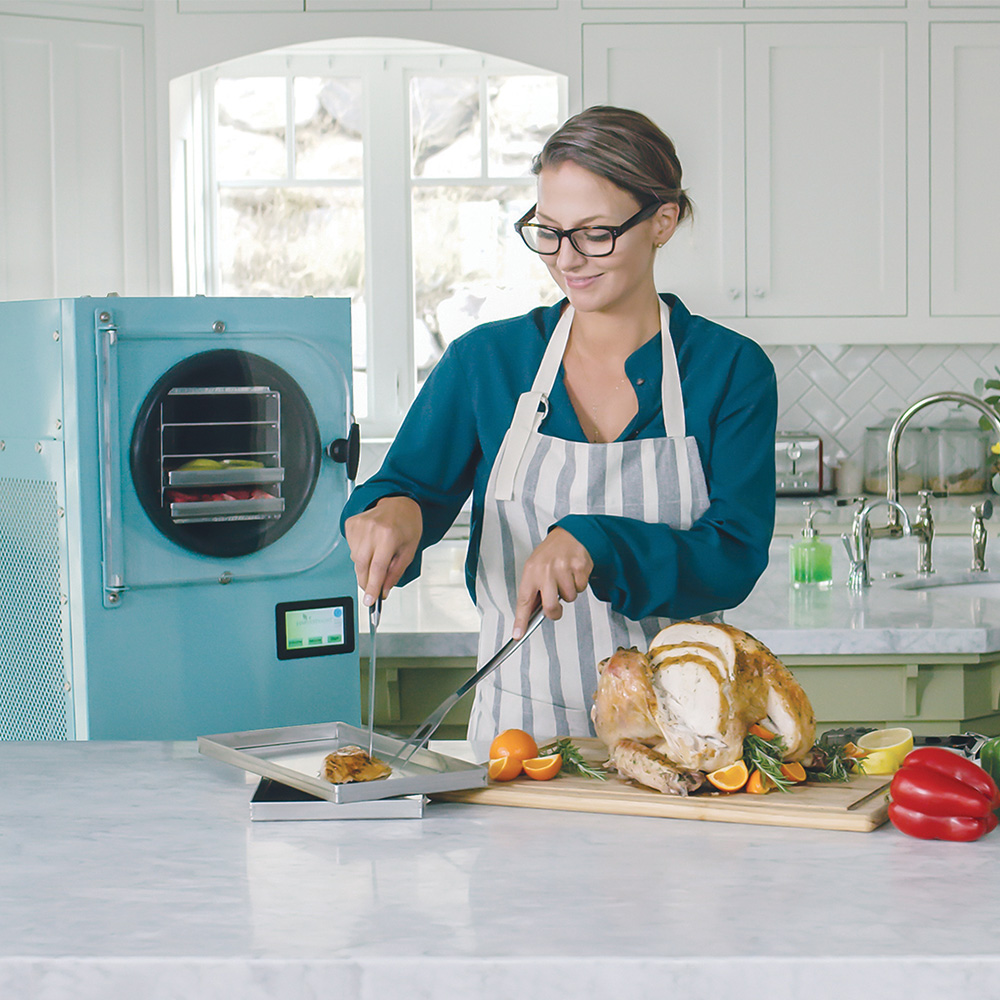 Metalized bags, also known as Mylar bags, are an excellent solution for sealing your own food. They help keep moisture, sunlight, and oxygen out, significantly extending the shelf-life of your food. Follow this step-by-step tutorial to effectively seal Mylar bags.
What You’ll Need
Gather all necessary supplies before you start. It’s advisable to seal multiple Mylar bags at once because oxygen absorbers should be used within a few hours after opening. They are not effective if left exposed for long periods.
Supplies Needed:
- Your food
- A bucket (food-grade not necessary)
- A lid for the bucket
- Mylar bags, one for each bucket
- An oxygen absorber for each bucket
- A heat source such as a clothes iron or a hair straightener
Step-by-Step Guide
Step 1 – Place the Mylar Bags in the Buckets
Spread the Mylar bags along the bottom of the bucket as evenly as possible. This ensures that your food settles to the bottom and optimizes space in the bag.
Step 2 – Pour the Food into the Mylar Bag
Fill the Mylar bag with the food you wish to store. Ensure you don’t overfill the bag, as this can make sealing more difficult.
Step 3 – Settle the Mylar Bag
Lift the Mylar bag inside the bucket without removing it. Shake the bag gently to help the contents settle at the bottom. This helps eliminate air pockets and allows you to fit more food in the bag.
Step 4 – Add an Oxygen Absorber
Place the oxygen absorber on top of the food inside the Mylar bag. Press the sides of the bag to ensure the part you’ll be sealing is upright and free from excess air.
Step 5 – Seal the Bag
Use a clothes iron or hair straightener to seal the top of the Mylar bag. If using a clothes iron, set it to a high heat setting and avoid the steam function. For a more even seal, consider using a piece of wood as a backing while ironing. Start from the center of the bag and move outward to ensure an even seal.
While some suggest leaving a small gap to vacuum out the air before sealing, this is unnecessary if you have a good oxygen absorber. A 2000cc oxygen absorber is effective enough to remove all oxygen from the bag, leaving only nitrogen and minimal other gases that won’t harm your food.
Step 6 – Cover with a Lid
Fold over the top of the Mylar bag and place the bucket lid on top. Your food is now sealed and ready for long-term storage.
Do you have additional tips or effective methods for food storage? Share your experiences and advice in the comments below.


