Being prepared for a crisis goes beyond food storage—it’s about building self-sufficiency skills. Sewing is one of those essential skills. Previously, we covered how to sew a queen-size quilt by hand. Today, we’ll guide you through sewing a basic shirt from scratch. Let’s get started!
Items You'll Need
- 1 yard of knit (stretchy) fabric
- An old shirt that fits well
- Freezer paper
- Pencil
- Scissors
- Thread
- Iron
- Pins
Step-by-Step Guide to Sewing Your Own Shirt
There are various methods for sewing a shirt, but this guide focuses on the simplest approach. Follow these steps:
1. Create a Pattern
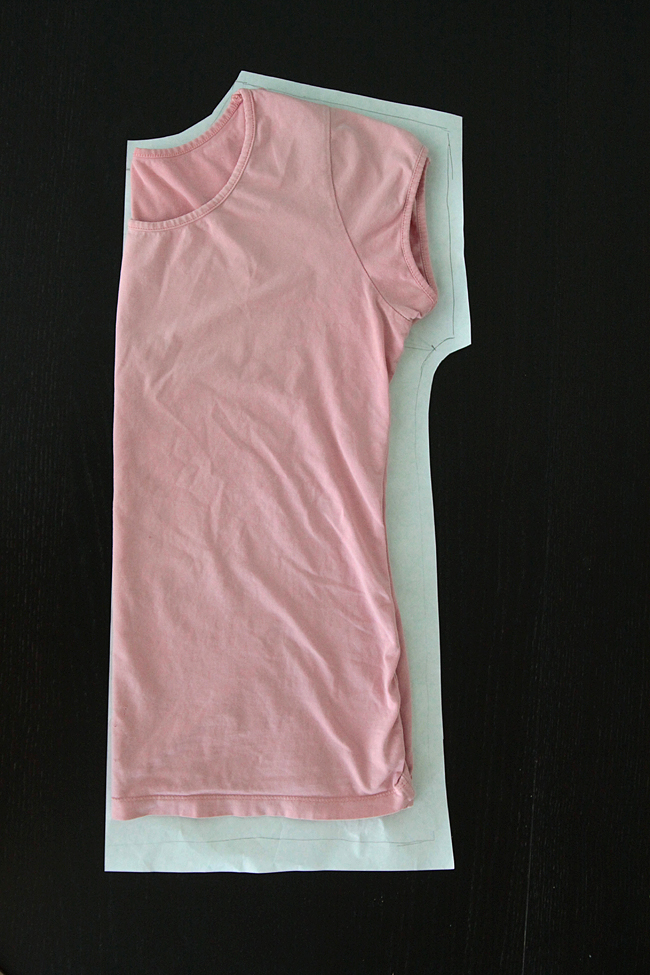
Use an old shirt that fits you as a template:
- Fold the shirt in half and place it on a large piece of freezer paper.
- Trace around the shirt, adding extra inches for seam allowance (length and width).
- Cut out the pattern from the freezer paper.
2. Prepare the Fabric
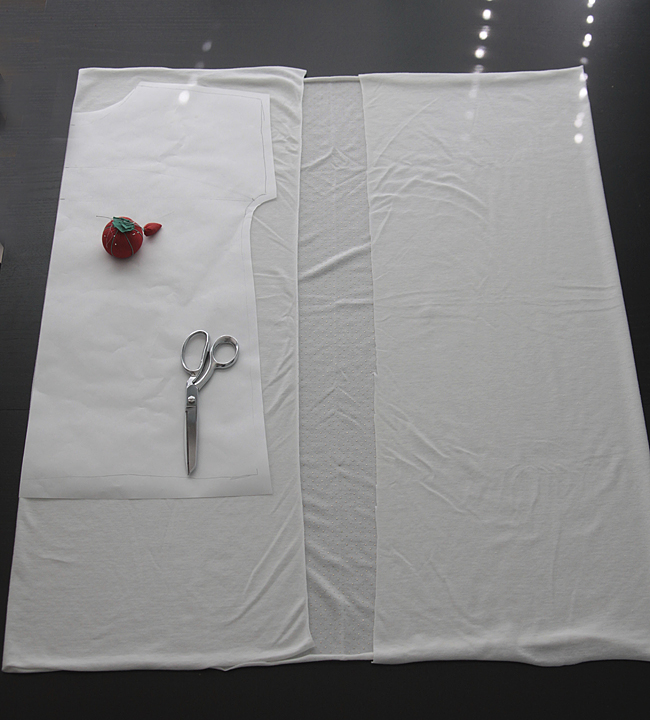
Lay the fabric flat, ensuring there are no wrinkles:
- Fold the fabric toward the center on both sides.
- Place the pattern on one side with the edge touching the fold.
- Pin the pattern to both fabric layers and cut around the edges. Do not cut the fold.
3. Assemble the Shirt
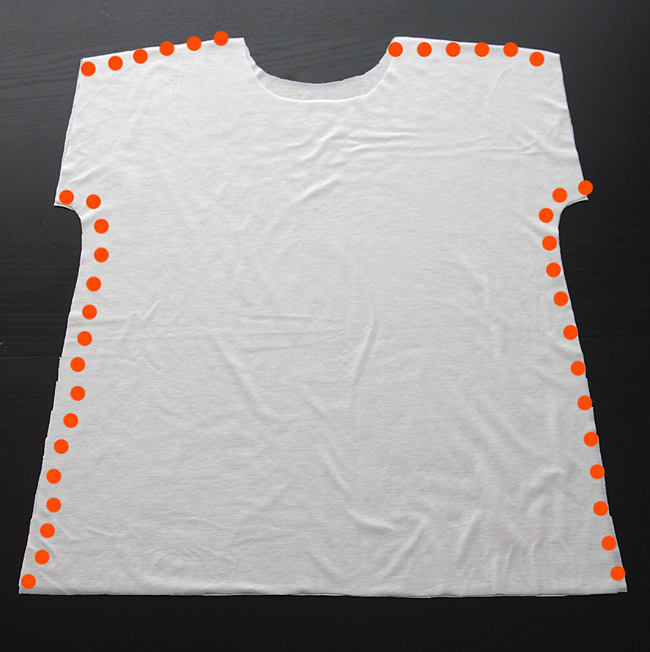
Align the front and back pieces of fabric:
- Pin the layers together, ensuring edges match.
- Sew along the curved areas above and below the arms.
- Hem the sleeves and bottom edge by folding ¼ inch and sewing with a slight zigzag stitch or a double needle.
4. Attach the Neckline
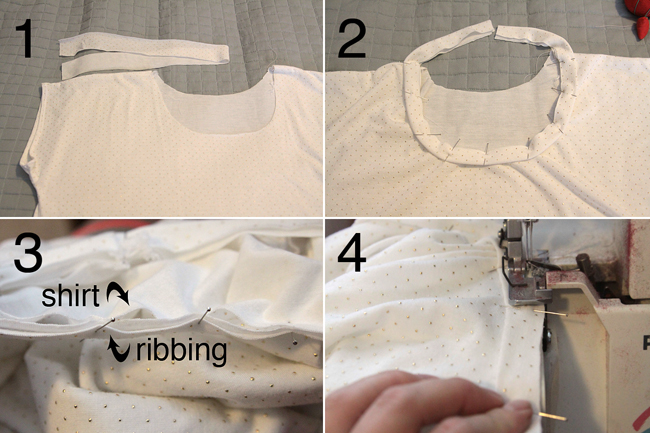
Measure and create the neckline ribbing:
- Measure the neckline and subtract 4 inches.
- Cut a piece of ribbing to this length (e.g., 24 inches long and 1½ inches tall).
- Fold the ribbing in half lengthwise and press it with an iron.
- Pin the ribbing to the neckline and sew it in place, ensuring a smooth finish.
Final Result
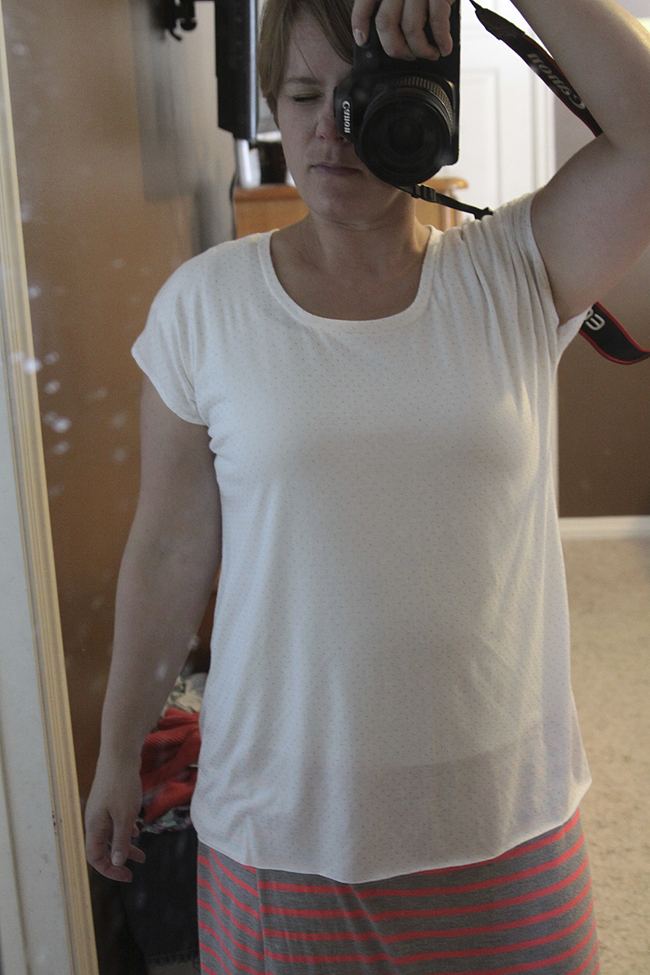
Once all steps are completed, your shirt should look something like this:
