Tapping maple trees to make syrup is a time-honored tradition, originating in pre-Columbian America. With the right tools and techniques, you can create natural, delicious syrup for your family while embracing self-sufficient living.
Choose the Right Maple Trees
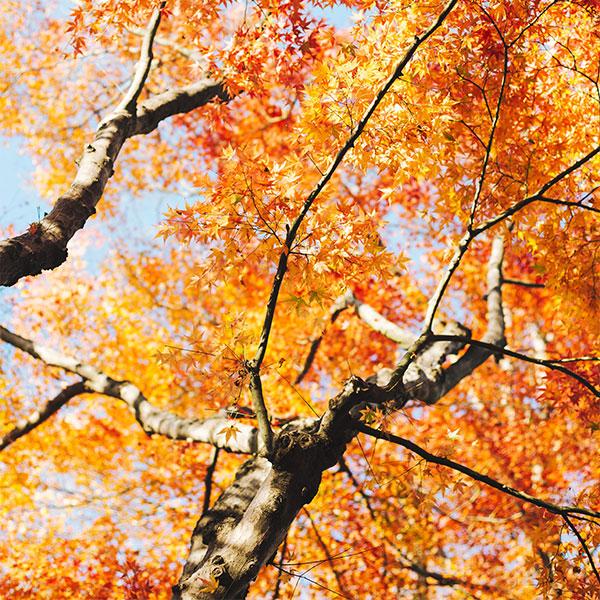
The best maple trees grow in regions with sunny days and freezing nights in early spring. Sugar maples, identifiable by their smoother leaves and bark compared to Norway or red maples, are ideal for tapping.
Essential Tools for Tapping
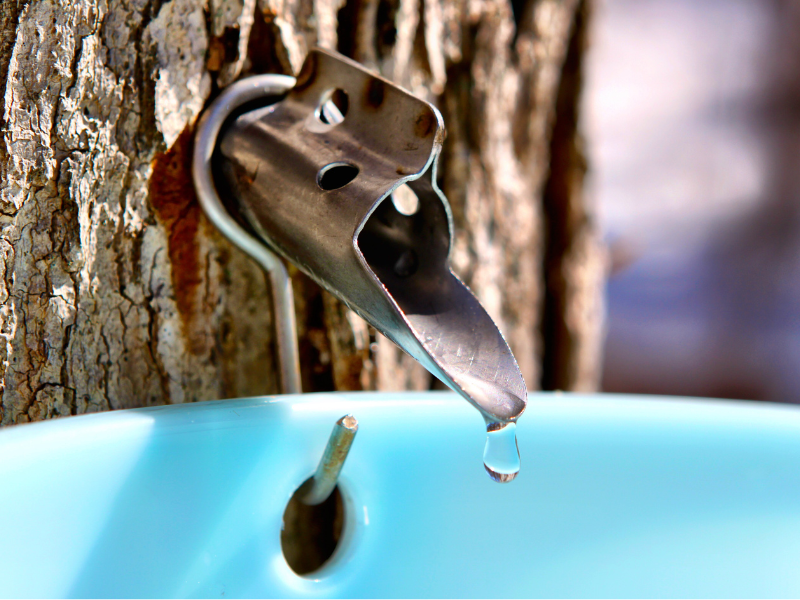
- Spouts: Look for metal spouts with precast hooks.
- Drill & Hammer: A hand drill with a 7/16-inch bit works best.
- Containers: Use sap buckets, gallon jars, or coffee cans.
- Heat Source: Boil sap outdoors to avoid sticky fumes inside your home.
When and How to Tap
The optimal tapping time is from late February to late March. Drill 2 ½ inches into the tree, insert a spout, and hang a container to collect sap. Check and empty containers daily during peak flow.
Boiling and Filtering
Boil sap to reduce its volume, requiring about 9 gallons of sap to produce one pint of syrup. Skim foam during boiling, and use a thermometer to check when it reaches 219°F. Filter sediment with paper coffee filters or felted-wool for a clear finish.
Grading Your Syrup
Maple syrup grades vary by color and flavor:
- Fancy: Pale golden, delicately flavored.
- Grade A: Light amber, mild and rich.
- Grade B: Medium amber, robust.
- Grade C: Dark amber, strong flavor.
When to Stop Tapping
As sap production slows and turns pale, stop tapping. Sap collected after trees start blossoming is unsuitable for syrup.
Have You Made Syrup?
We’d love to hear about your experience! Share your tips in the comments below.


