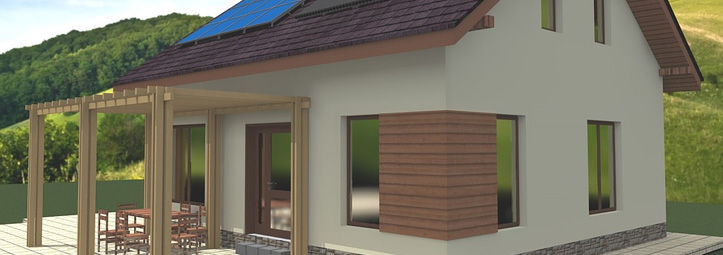
Earthbag shelters are eco-friendly and energy efficient. They make ideal hunting cabins or bug out shelters. An earthbag house is a cost-effective method for a shelter since you'll be bagging the dirt you're digging out.
A basic earthbag shelter could cost as little as $3,000 if you're willing to do much of the work yourself. Many of the materials for the house can be recycled from thrift stores bought at a discount from the local home goods store.
Here is a how-to guild for building your very own earthbag shelter.
DIY Earthbag Shelter
- Dig a 4-foot trench around where the walls will be.
- Fill the trench with gravel and tamper it down. This will act as the foundation.
- Ensure the foundation is level.
- Fill the first 3 layers of bags with gravel for drainage.
- Run two strand of barbed wire in between each layer to connect them bags together.
- Tamper each layer in place.
- Build a door frame and place in the desired location on the wall.
- Layer more bags, then add windows at the desired location on the wall.
- Shelves can be placed directly into the way by leaving a board to overhang between the layers.
- Place a beam over the windows and doors to strengthen them.
- Add large beams on top to support the roof.
- The roof should overhang the shelter to allow for rain runoff.
- Cover the roof plywood.
- Layer with cardboard for added installation.
- Add a layer of 6-millimeter ploy and use waterproof tape to join the sheets if necessary.
- Place insulation in the bags and fill the gaps in the roof joists.
- Cover the exterior and interior walls in chicken wire. This will hold the plaster.
- Plaster the wall with lime or earth render, this will allow moisture to pass through the walls.
- Install energy efficient windows.
- Tamper the floor, then add a layer of brick or stone.
- Add a wood burning stove and a generator or solar panels.
- Frame and finish the interior space.
- Install a kitchen and utilities.
- Add food storage and bunk beds.
- Don't forget the comforts of home, you might be there for a while.


