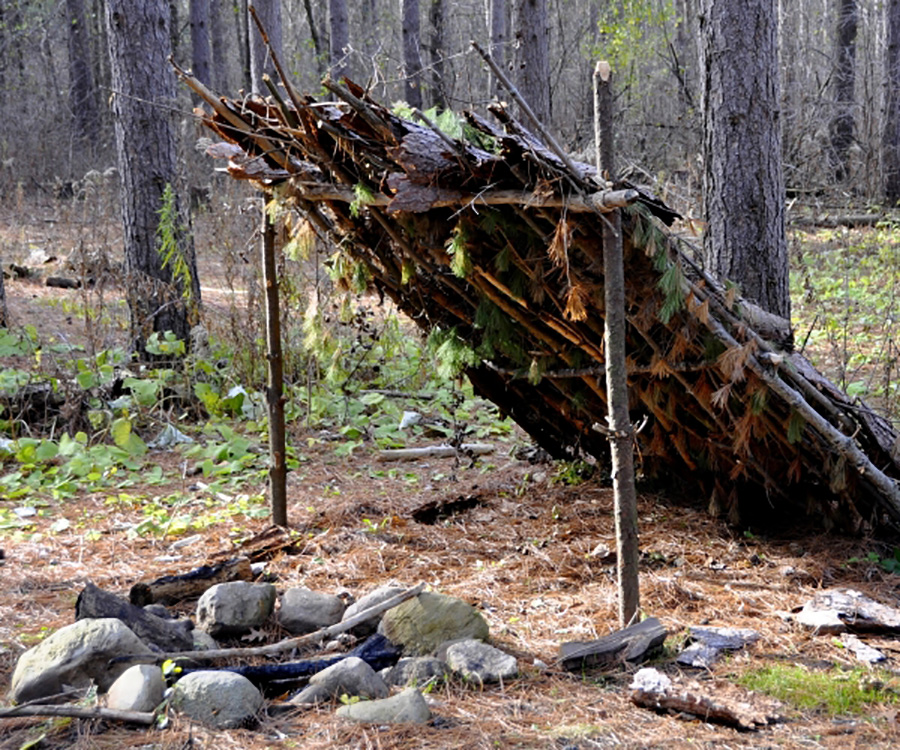
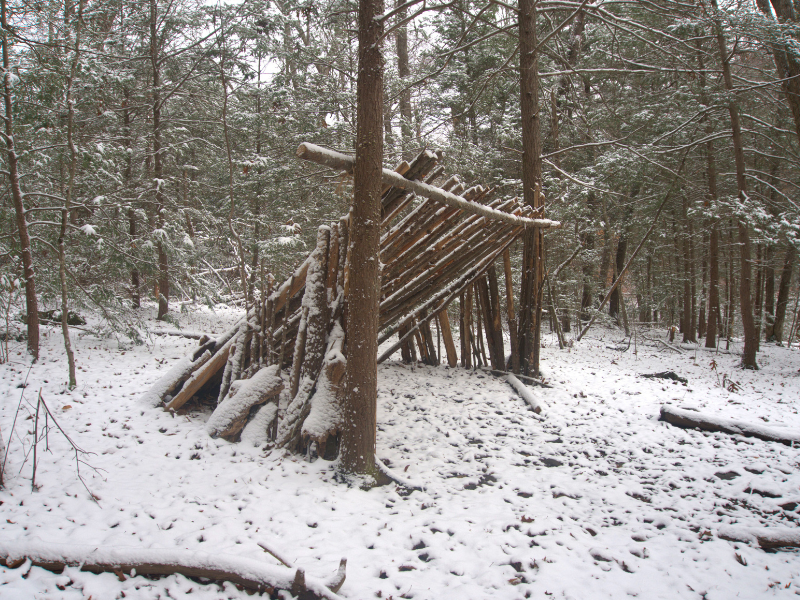
Whether you’re preparing for a survival situation or simply want to enhance your camping experience, a lean-to shelter offers reliable protection against the elements. Follow these steps to create a sturdy, insulated lean-to shelter using natural materials.
Supplies Needed
- Two sturdy trees or poles spaced 7-8 feet apart
- Two thick poles or branches, 8-9 feet long for the frame
- 5-8 thinner poles or branches, 8-9 feet long
- Filler materials (branches, saplings, long grass, or leaves)
- Paracord, twine, or vines
- Ax for chopping trees or saplings
- Survival Knife
Step-by-Step Guide to Building Your Lean-To Shelter
Step 1: Check the Wind Direction
Determine the wind direction before building. If you have satellite capabilities, check for upcoming storm directions. Build your shelter with its back facing the wind to keep out the elements.
Step 2: Secure the Transversal Beam
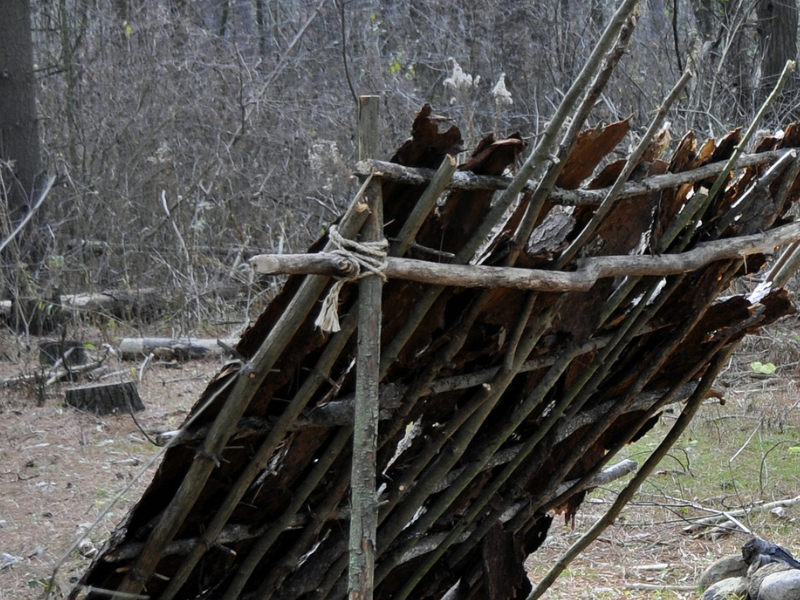
Lash one of the thicker 8-9 foot poles horizontally across the two trees or support poles at about chest height. This forms part of your frame, so ensure it’s securely fastened. This beam is also known as the “transversal beam.”

Step 3: Complete the Outside Frame
Secure the other thick pole on the ground, attaching it to two vertical poles that you’ll then lash to the transversal beam. Make sure the entire frame is stable and all poles are securely lashed.
Step 4: Attach the Vertical Support Poles
Attach the thinner poles vertically from the top beam to the ground beam, spacing them evenly across the frame.
Step 5: Reinforce with Paracord
If you have additional paracord, weave it horizontally through the frame to create a stable base for your filler material. Alternatively, use more branches to reinforce the frame.

Step 6: Add Filler Material for Insulation
Criss-cross saplings, branches, long grass, or leaves to fill in the gaps in the frame. Secure the filler materials to the paracord or frame to prevent them from blowing away. The more filler material you use, the better insulated your shelter will be.
Step 7: Insulate the Ground
Spread leaves, grass, or other insulating material on the ground under the lean-to. This layer provides additional warmth and comfort.
Optional: Additional Shelter Enhancements
- Create a Front Barrier Wall: Build a small wall about 2 feet tall in front of the shelter’s entrance to trap heat from an outside fire. Ensure the fire is positioned a safe distance from the lean-to.

- Double-Sided Shelter: Construct a second lean-to on the opposite side for protection from both directions.
- Using a Tarp: If you have a tarp, you can use it to make a lean-to shelter even faster. Learn more here.


