One of the tools you may have not have in your preparedness cache is a good set of snowshoes. In most cases, you probably won't need some. But you don't prepare like that, do you? You're ready for whatever comes. The good thing with snow shoes is the fact that you don't have to spend a lot of money to get you and your family prepared. Even better, the process is fairly simple.
Materials you'll need: - 20 feet of 3/4 inch PVC pipe (3/4 inch) - 3/4 inch T-Joint (4 pieces) - Strong vinyl mat for decking (can be bought at fabric stores) (Alternative decking- parachord) - Parachord (or other strong/thin rope) for binding - PVC Cement Tools: - Saw -Tape Measure -Heat Gun -Utility Gun -Hole Punch -Lighter Getting Started
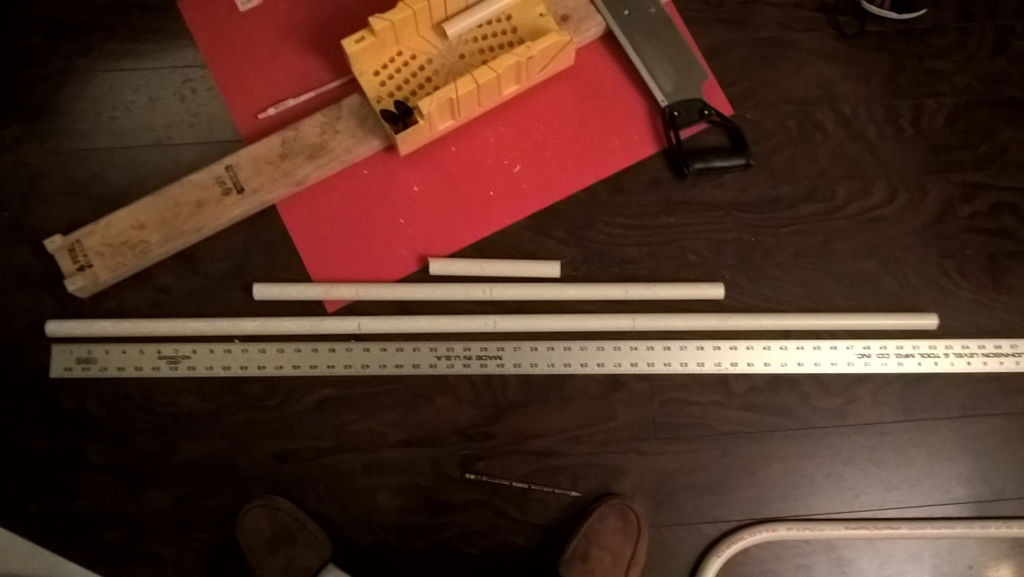
Step 1- Cut the Frame Cut the PVC pipe into following measurements: - (2) 8" pieces - (2) 52" pieces - (2) 28" pieces This will create shoes that are about 36". For smaller feet you can adjust accordingly.
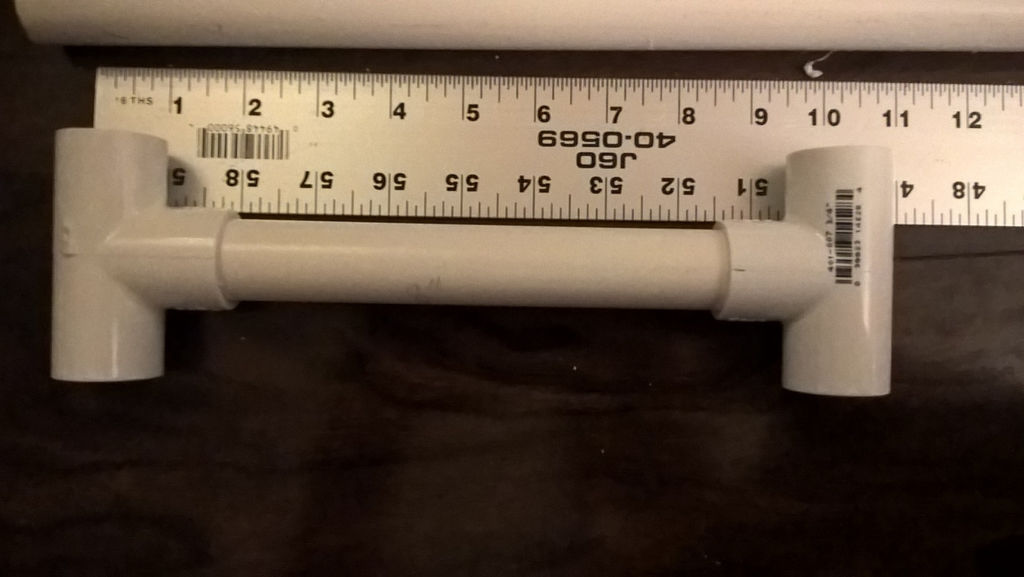
Step 2- Attach and Mark Attach the 4 T joints to both ends of the 8" pipes. Line up the longer pieces against the T joints and mark where you will need to bend the pipe. Mark the center of each 28" piece and then mark 6" from the end of each piece. Mark the center of the 52" piece and the mark 18" from each end.
Step 3 - Heat and Bend Heat the long PVC pipes starting from the center. Round them from the center out to form a half-circle. Stop when you get to the markings on each end. 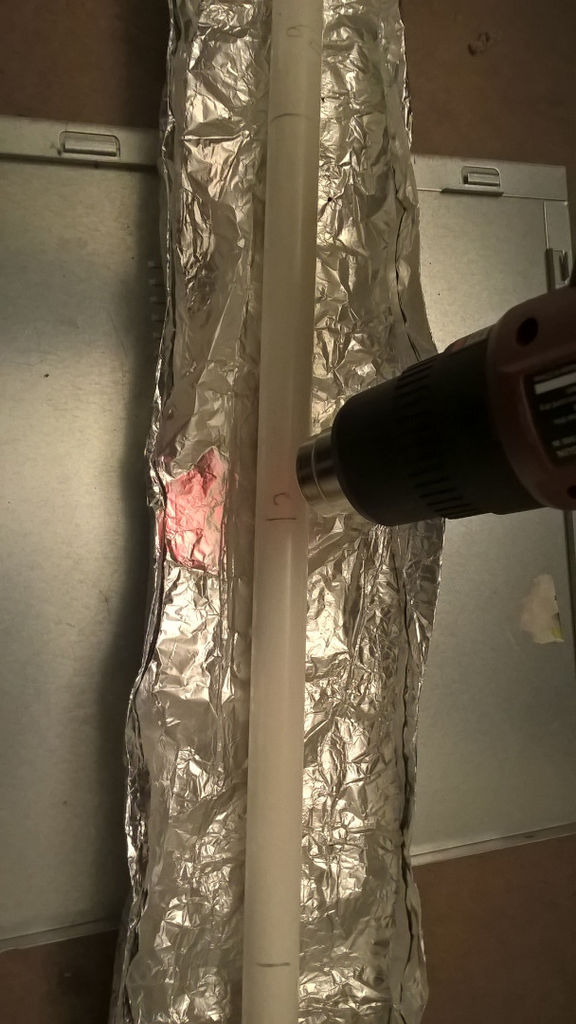
Step 4- Attach Attach each rounded piece to the straight center/crossbeam pieces using the T joints. It should look like this.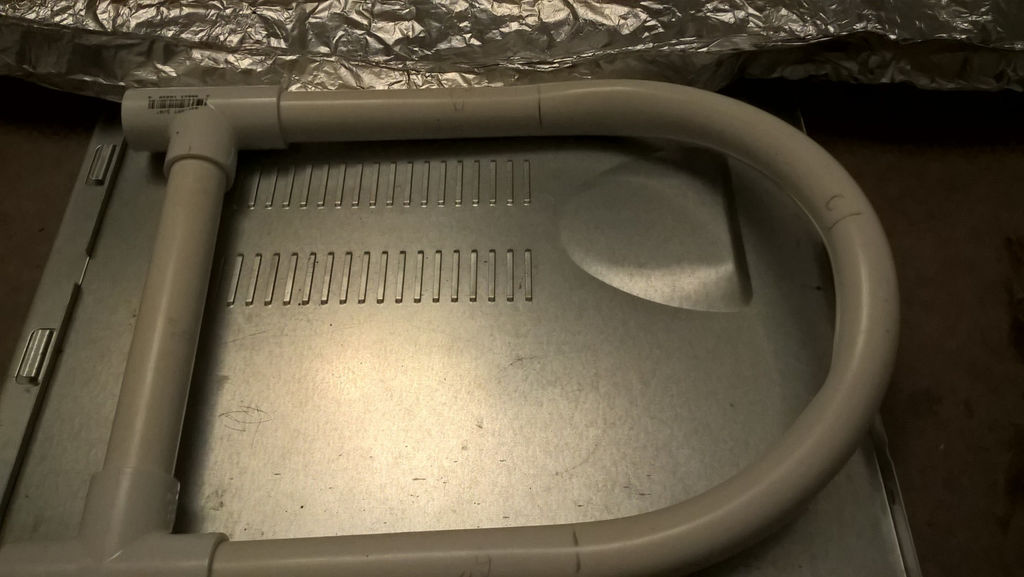
Step 5- Vinyl- Measure, Cut, Wrap Take your vinyl sheets and measure them to fit around your PVC pipe. You should be able to stretch the material enough to wrap around the pipe and meet up on the other side. Cut these in 2 separate pieces for each snow shoe, one for the bigger section and one for the smaller.

Step 6 - Measure and Poke In this step you will poke holes in the vinyl to go around the snowshoes. For more secure snowshoes, each hole should meet up on the top and bottom of the snow shoe. Wrap the material around and measure to poke through both layers of vinyl. Poke holes around all pieces of vinyl.
Step 7 - Lace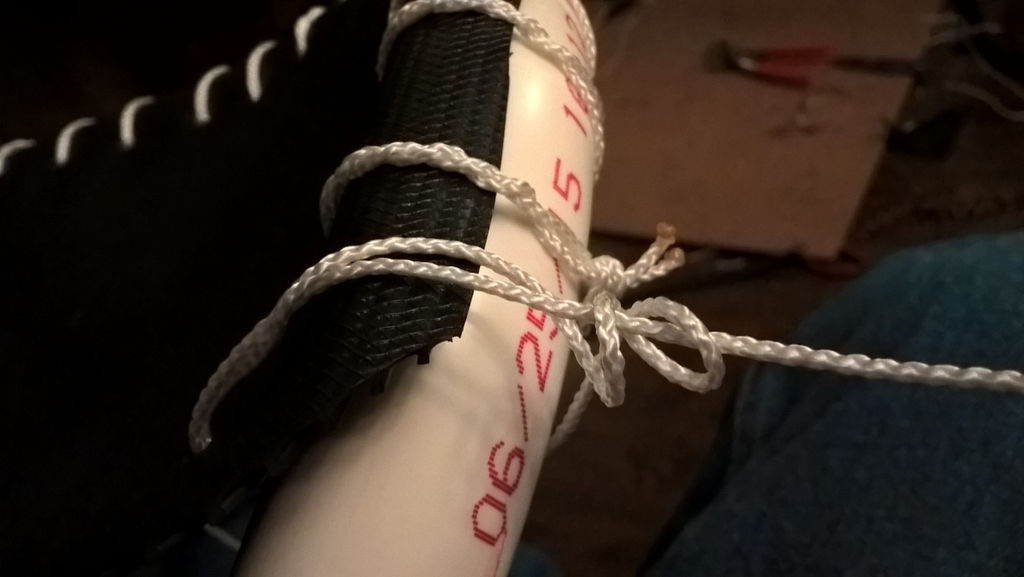 Using parachord (or another strong, thin rope) lace through the holes to sew. Keep the same stitch going by always sewing through the top hole, pointing the rope down. To do this, poke your chord through both holes, then wrap the chord around the outside to bring it back up to top of the snow shoe to repeat the step. Pull the chord tight with each stitch.
Step 8- Create a Foot Anchor You have 2 options to anchor your shoe. You can use parachord to tie it down, or you can create your own shoe housing. To create housing, use more vinyl to cut a T-shaped anchor for your feet. Punch holes on the bottom to attach with parachord to the vinyle base. On either end of the T shape, punch lacing holes to tie your feet into the anchor.
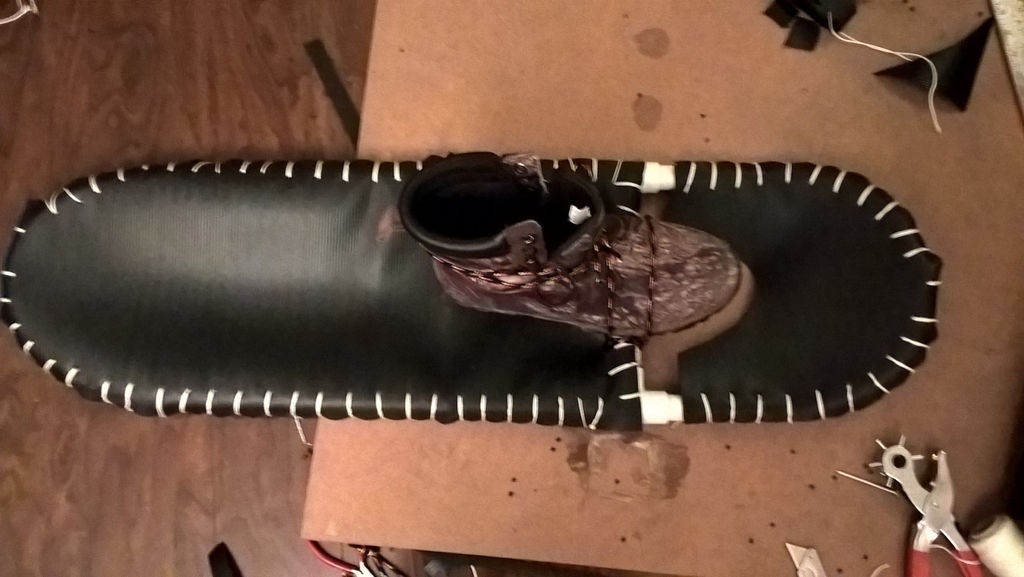
Step 8- Attach Shoes Simply step into your new snowshoes and lace the vinyl flap tightly around your shoes. You're set to snowshoe!
For an alternate video tutorial, click here. Whether it's for recreation or for need, these PVC snowshoes will help you get where you're going. What other materials have you used to make snowshoes?
Special thanks to SurvivalKit.com for images and instructions.


