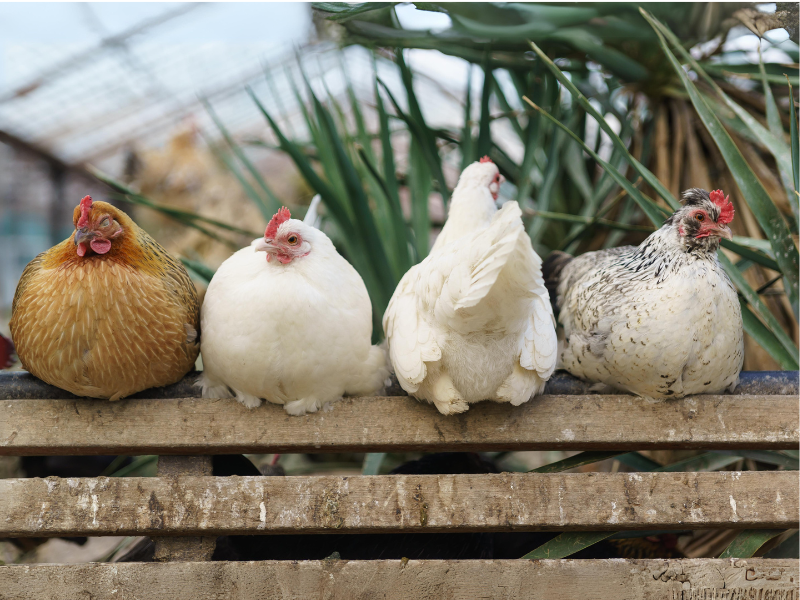
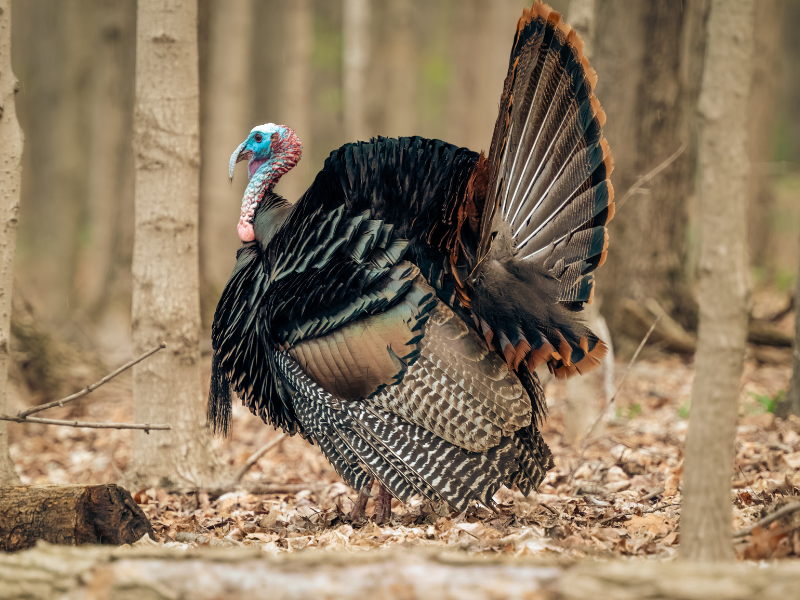
Raising turkeys can be both enjoyable and rewarding. Unlike chickens, turkeys are often hardier and produce more meat per bird. If you already have chickens, consider adding a few turkeys to your flock. Turkeys and chickens raised together tend to get along well, and turkeys bring added benefits to your homestead.
Steps for Processing a Turkey
Processing or butchering a turkey is straightforward, provided you have the right tools. Below are step-by-step instructions for preparing a turkey for your table.
- Fasting: Don’t feed the turkey 12 hours before processing to reduce waste.
- Handling: Hold the turkey securely by lacing fingers between the feet and supporting its body. Keep the bird calm to avoid adrenaline release, which can affect meat quality.
- Killing Cone: Place the turkey in a killing cone for sedation and position its head through the bottom for easier handling.
- Bleeding: Use a sharp knife to cut both sides of the neck, allowing blood to drain.
- Scalding: Submerge the turkey in 145°F water for 3 minutes, stirring to cover the entire bird until feathers are easy to pluck.
- Plucking: Remove feathers by hand or use a mechanical plucker if processing multiple birds.
- Removing Parts: Remove legs at the joint, head with scissors, and peel the skin from the neck.
- Internal Cleaning: Carefully remove the crop and insides. Gently cut along the pelvis, pulling out the intestines while avoiding punctures.
- Final Rinse: Rinse the turkey thoroughly, both inside and out.
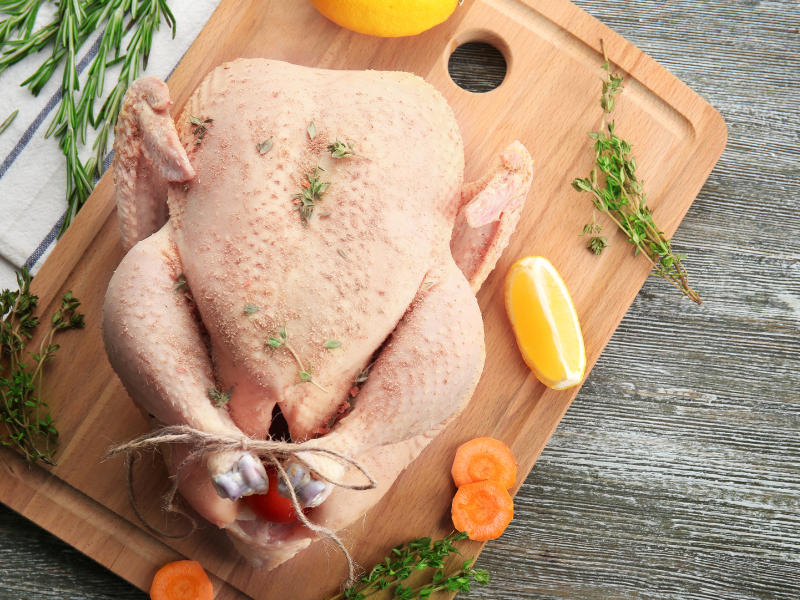
- Storage: Place the turkey in a sealed plastic bag, use a bucket to displace air, and secure it with a zip tie. Freeze or use within a few days for best results.
Additional Resources
Watch this video for more guidance on processing turkeys:
For further details, check out this helpful article on The Spruce.


