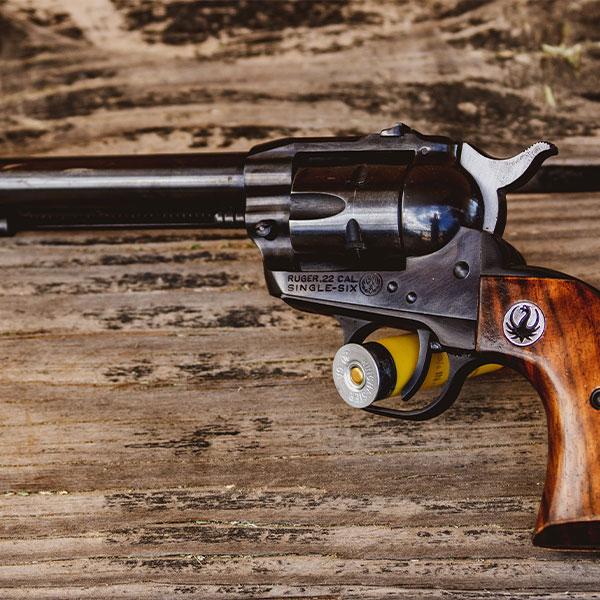
There are many ways to hide your valuables. Like investments, diversity is the key for safe keeping. You may have safes, gun safes, and other hiding places. Another idea to add to your home safety plan is to install stealth shelves to hide your possessions. A stealth shelf can securely hide your valuables where no one will even know it is there except for you. Burglars won't be able to find your secret safe. Plus you'll be able to quickly access a firearm in the case of a home invasion.
If you are handy and like woodworking, this project is for you. This DIY is a little more involved, but the finished product is defiantly worth it. Give it a try and let us know how it turns out.
DIY Stealth Shelf Materials
- 4 feet of 1"x12" common board
- 4 feet of 1/4"x1" hardwood emboss rope
- 4 feet of 4 1/2" hardwood emboss crown molding
- Jig saw
- Masking tape
- Pen
- Minter saw
- Wood glue
- Finishing nails
- 2" wood screws
- Mortised full overlay cup hinges for frameless cabinets
- Screwdriver
- Fosner bit
- Magnetic locks
- Wood Stain
- Toothpaste
- Jack Chain
- Diamond Plating
- #6 flat washers
- #6 screws
- Motion activated LED light
- Strong magnets
- Felt
- Cut the common board into several pieces. One piece should be 11 1/4" wide and 24" long. The other should be 8 3/8" wide and 18 1/4" long.
- The remaining board should be cut into a longer piece of 18"x 2 1/2" and 2 pieces of 6"x2".
- Cut one corner of the 6"x2" at a 45-degree angle. Save these small pieces as they will be used later in the project.
- Put some masking tape on your table saw. Place the crown modeling on the saw and draw a line, this will help you make clean straight cuts.
- Line up the crown modeling with the 8 3/8" wide board. Make the crown modeling. This will form the two side walls of the stealth shelf.
- Adjust the saw to 45 degrees. Line up the crown modeling with your marks and carefully cut the modeling.
- Adjust the saw to 45 degrees in the opposites direction to cut the other side of the board. One side of the board should remain flat.
- Cut the remaining crown modeling again at 45 degrees. Measure the crown modeling and mark it at 18 1/4". Adjust the saw to make a 45 degree cut on the other side of the crown modeling.
- The 45 degree agrees should match up perfectly forming the outer walls of the shelf.
- Next, cut the emboss rope to match the crown modeling. The emboss rope should be the same length as the modeling as it will wrap around the outside.
- Run a bead of wood glue along the two smaller blocks. Glue them to the 18" board. Make sure all the edge line up flush. The 45-degree cut should face towards the wider side. Screw the sides together for a stronger shelf.
- Run wood glue along the bottom of the crown modeling. Glue them to the board. Tack them in place with some finishing nails. Glue and tack the corners as well.
- Glue and tack the emboss rope to the top board. The rope should overhang the edge of the board about half way. This will hide the gap on the shelf.
- Adjust the hinges to fit the shelf. Install them according to the package instructions. Screw them to the support bar.
- Glue and tack the top of the shelf to the support bar.
- Use the extra wood pieces. Glue and tack them to the top edge of the crown modeling. Make sure it lines up flush.
- Screw the bottom of the magnetic locks to the wood pieces.
- Mark where the bottom of the shelf meets the top and install the rest of the magnetic locks. Becare not to lock yourself out while you are working.
- Satin the shelf to match your home decor.
- Cut two pieces of jack chain. Attach them using screws and washers. Screw the can to the 45-degree corner and the bottom of the shelf. This will prevent it from banging the wall as it opens and closes.
- You can hide the magnetic key by drilling a small hole into the bottom of home decor items. Slide the object over the lock when you want to access the shelf.
- Install a small LED light to the underside of the shelf. This will provide emergency lighting for the stealth shelf.
- For firearm storage screw some magnets to the bottom of the shelf.


