Skip to content
FREE SHIPPING on ALL orders over $99! SHOP NOW

Call Now: 1-800-773-5331

Search Close
Wish Lists Cart
0 items

Amazing Uses for Paracord

27 Jan, 2020 48
Amazing Uses for Paracord
MREs
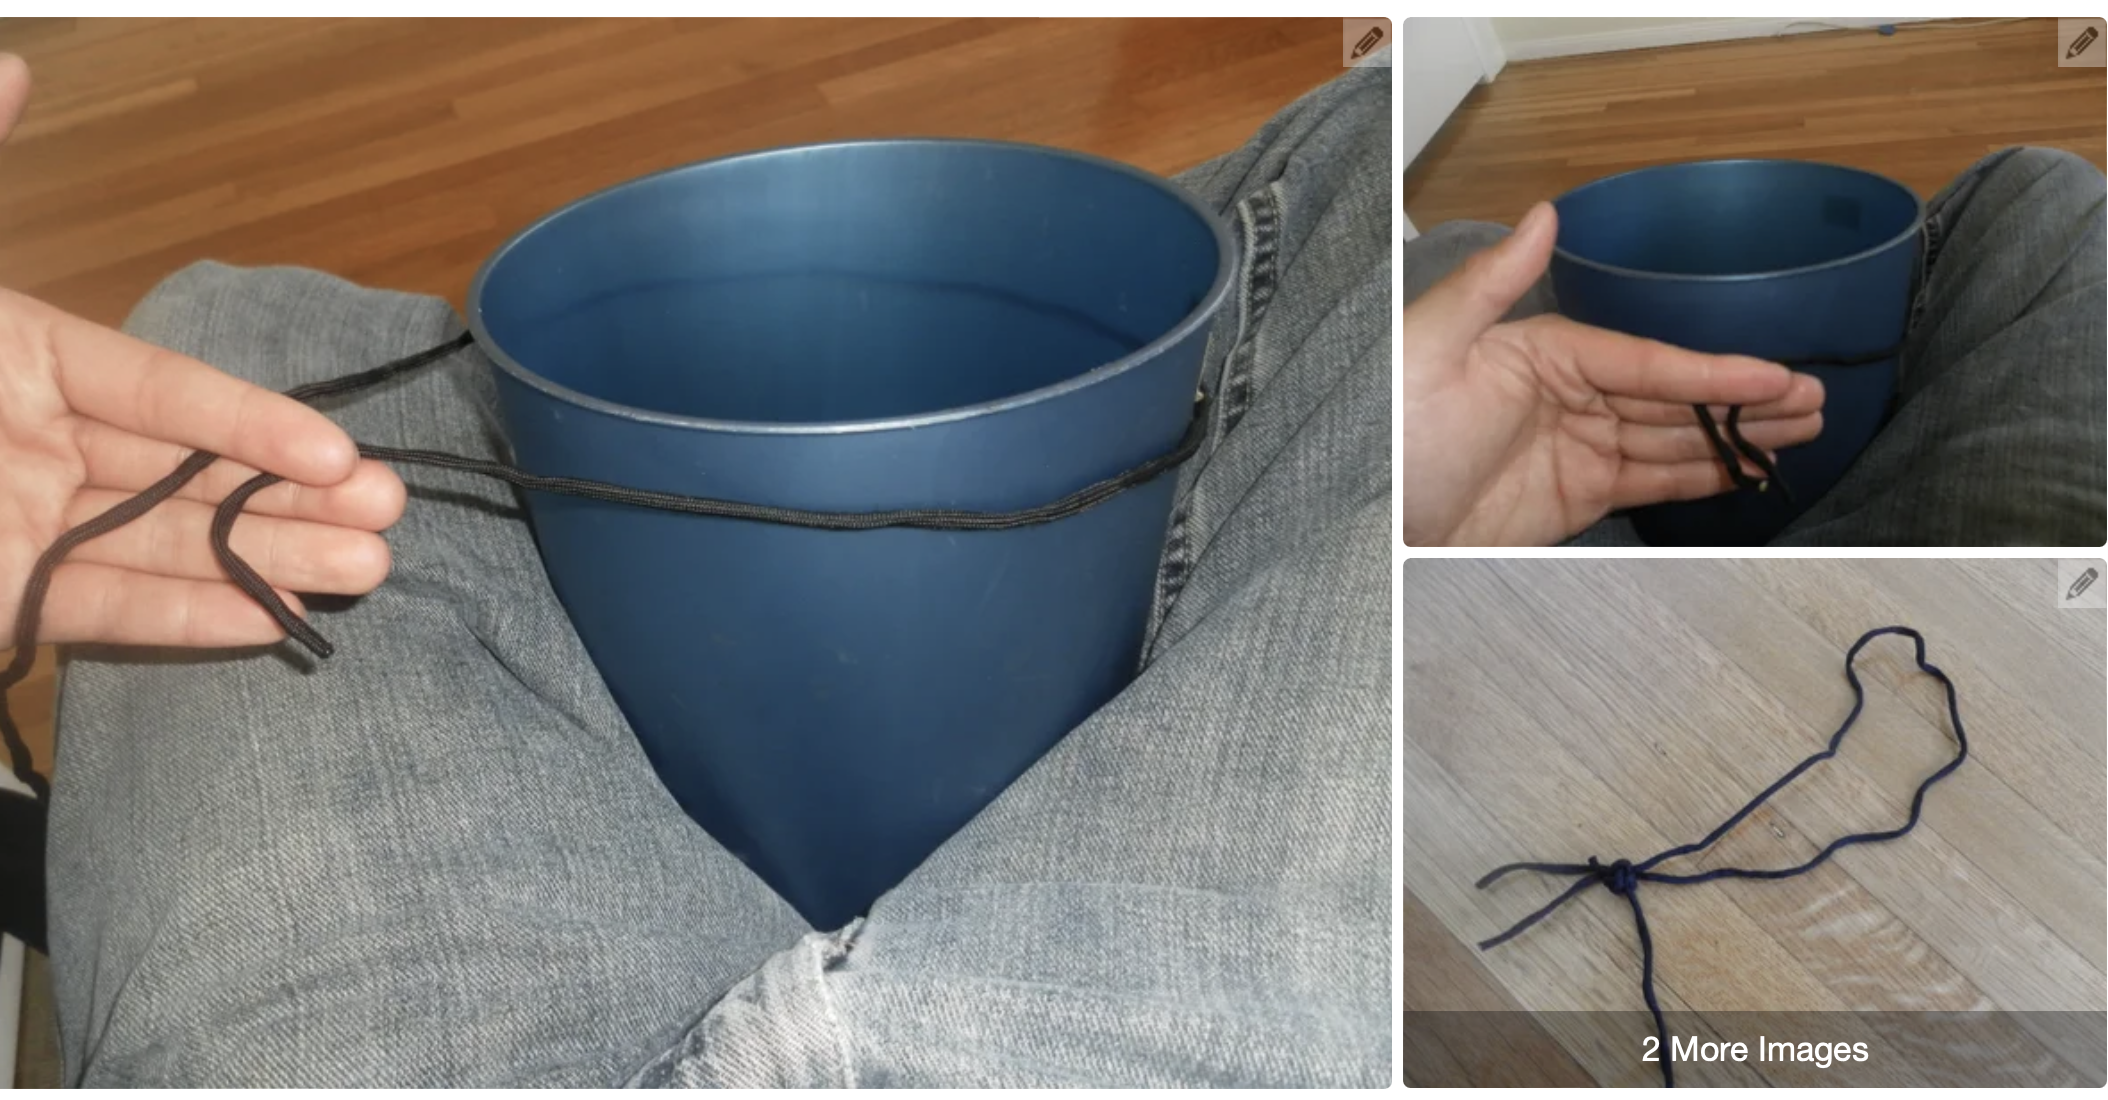
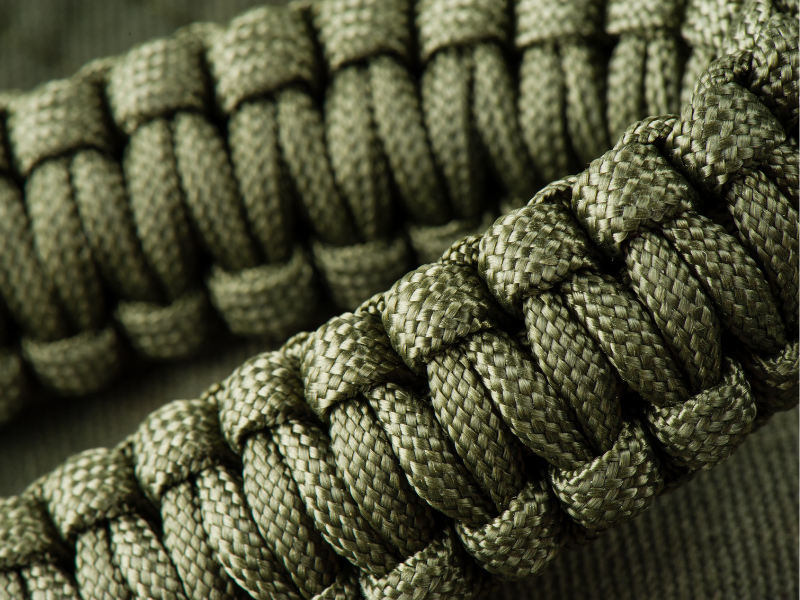
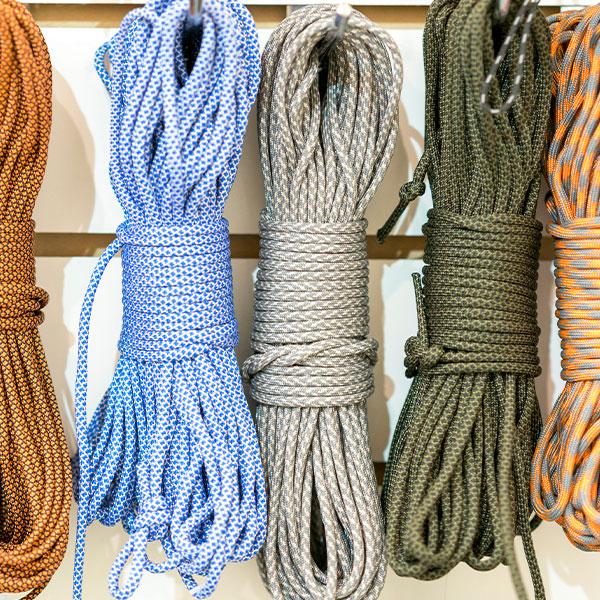
Paracord can be an awesome tool in your preparedness arsenal. This durable nylon rope can be tied into tons of different designs including a paracord drawstring pouch, bracelet, strengthened cord, pouches and more. If you’re in an emergency, you simply unwind the strong cord and use it to bind, haul or anything else that you might need. So, whether you’re a beginner or an expert paracord lover, we have a design for you. Check out these paracord designs below. If you don’t want to spend time weaving your own bracelet, you can always let us do it for you. What is Paracord? Paracord, also known as parachute cord, is a soft, lightweight nylon rope that was originally used for parachuting. Typically, 550 paracord (which is the paracord used for our bracelets) is made of 32 strands of nylon sheath on the outside and seven strands of 2-ply nylon yarns on the inside (the “guts”). The 550 paracord is the same made for the government and has a minimum breaking strength of 550 lbs. While paracord started out as a parachuters tool, people quickly recognized its usefulness in other areas. Since the cord is quick-drying, rot- and mildew-resistant, it’s great for many purposes. Military units use it for securing packs, hanging covers and tents. Many military personnel even use the guts as fishing line. Paracord Drawstring Pouch You’ll need: • About 100 ft of Paracord • A heavy object to use as a base about 7 inches in diameter (a small trash can will work well) • Scissors or a Knife • A Lighter Creating the Drawstring 1. Take one end of the paracord and wrap it around your object with about 3-inches or so on each end. Cut the ends. 2. Tie one end of the string around the other end so that it creates a drawstring effect. You can use any knot that works well for you. You can also use a slip tie.
3. Replace the drawstring base on the top of the trash can.
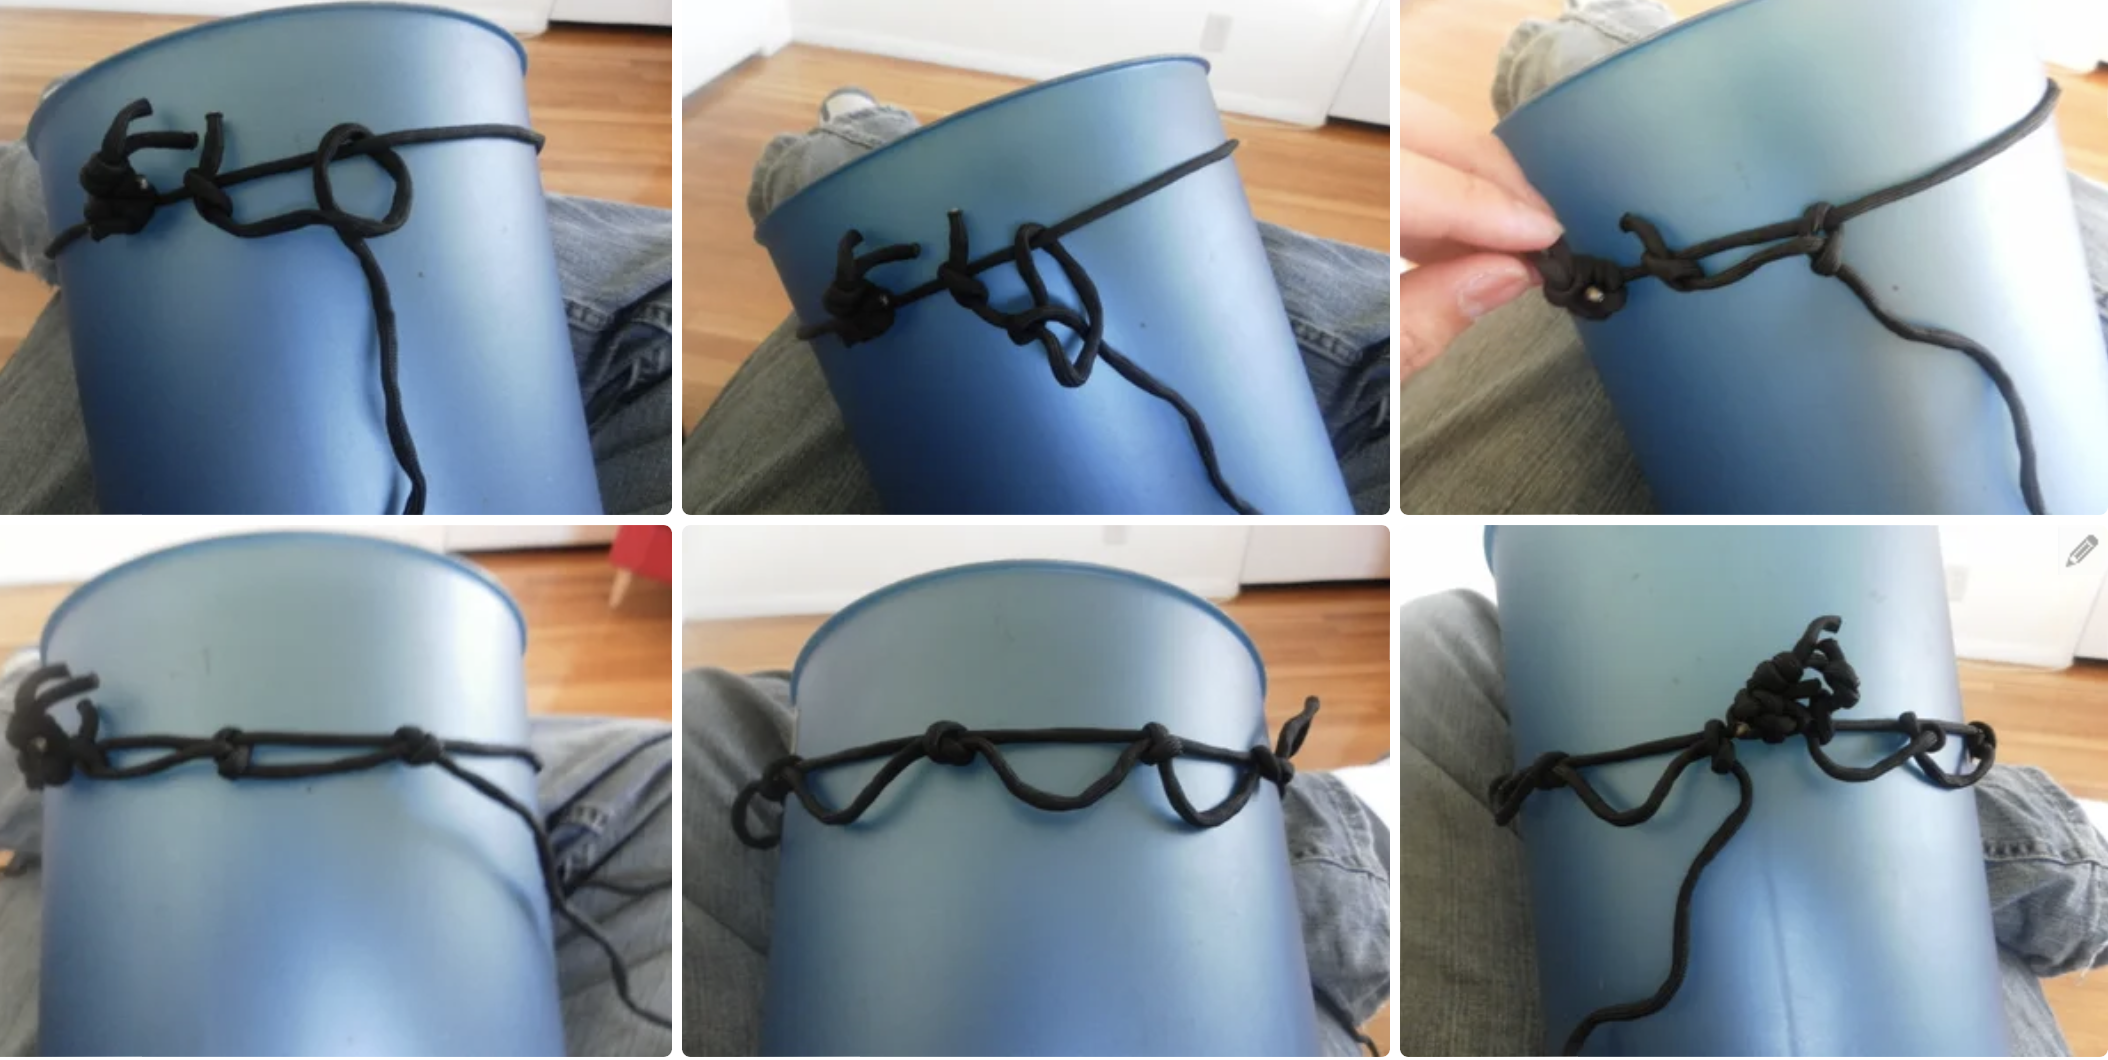
The Bag 1. Take one end of your paracord and tie it onto the drawstring.
2. Move 1 ½ - 2 inches to the right of the drawstring and tie another overhand knot. Make sure to leave just a bit of slack between the two knots. 3. Repeat this process until you rotate all the way around the trash can.
NOTE: Make sure that the distance between each knot is roughly the same. It helps to keep things a little more uniform. 4. Once you tie knots all the way around the drawstring you’ll find that you’ve come back to the original line. Simply continue tying overhand knots on the second layer of rings.
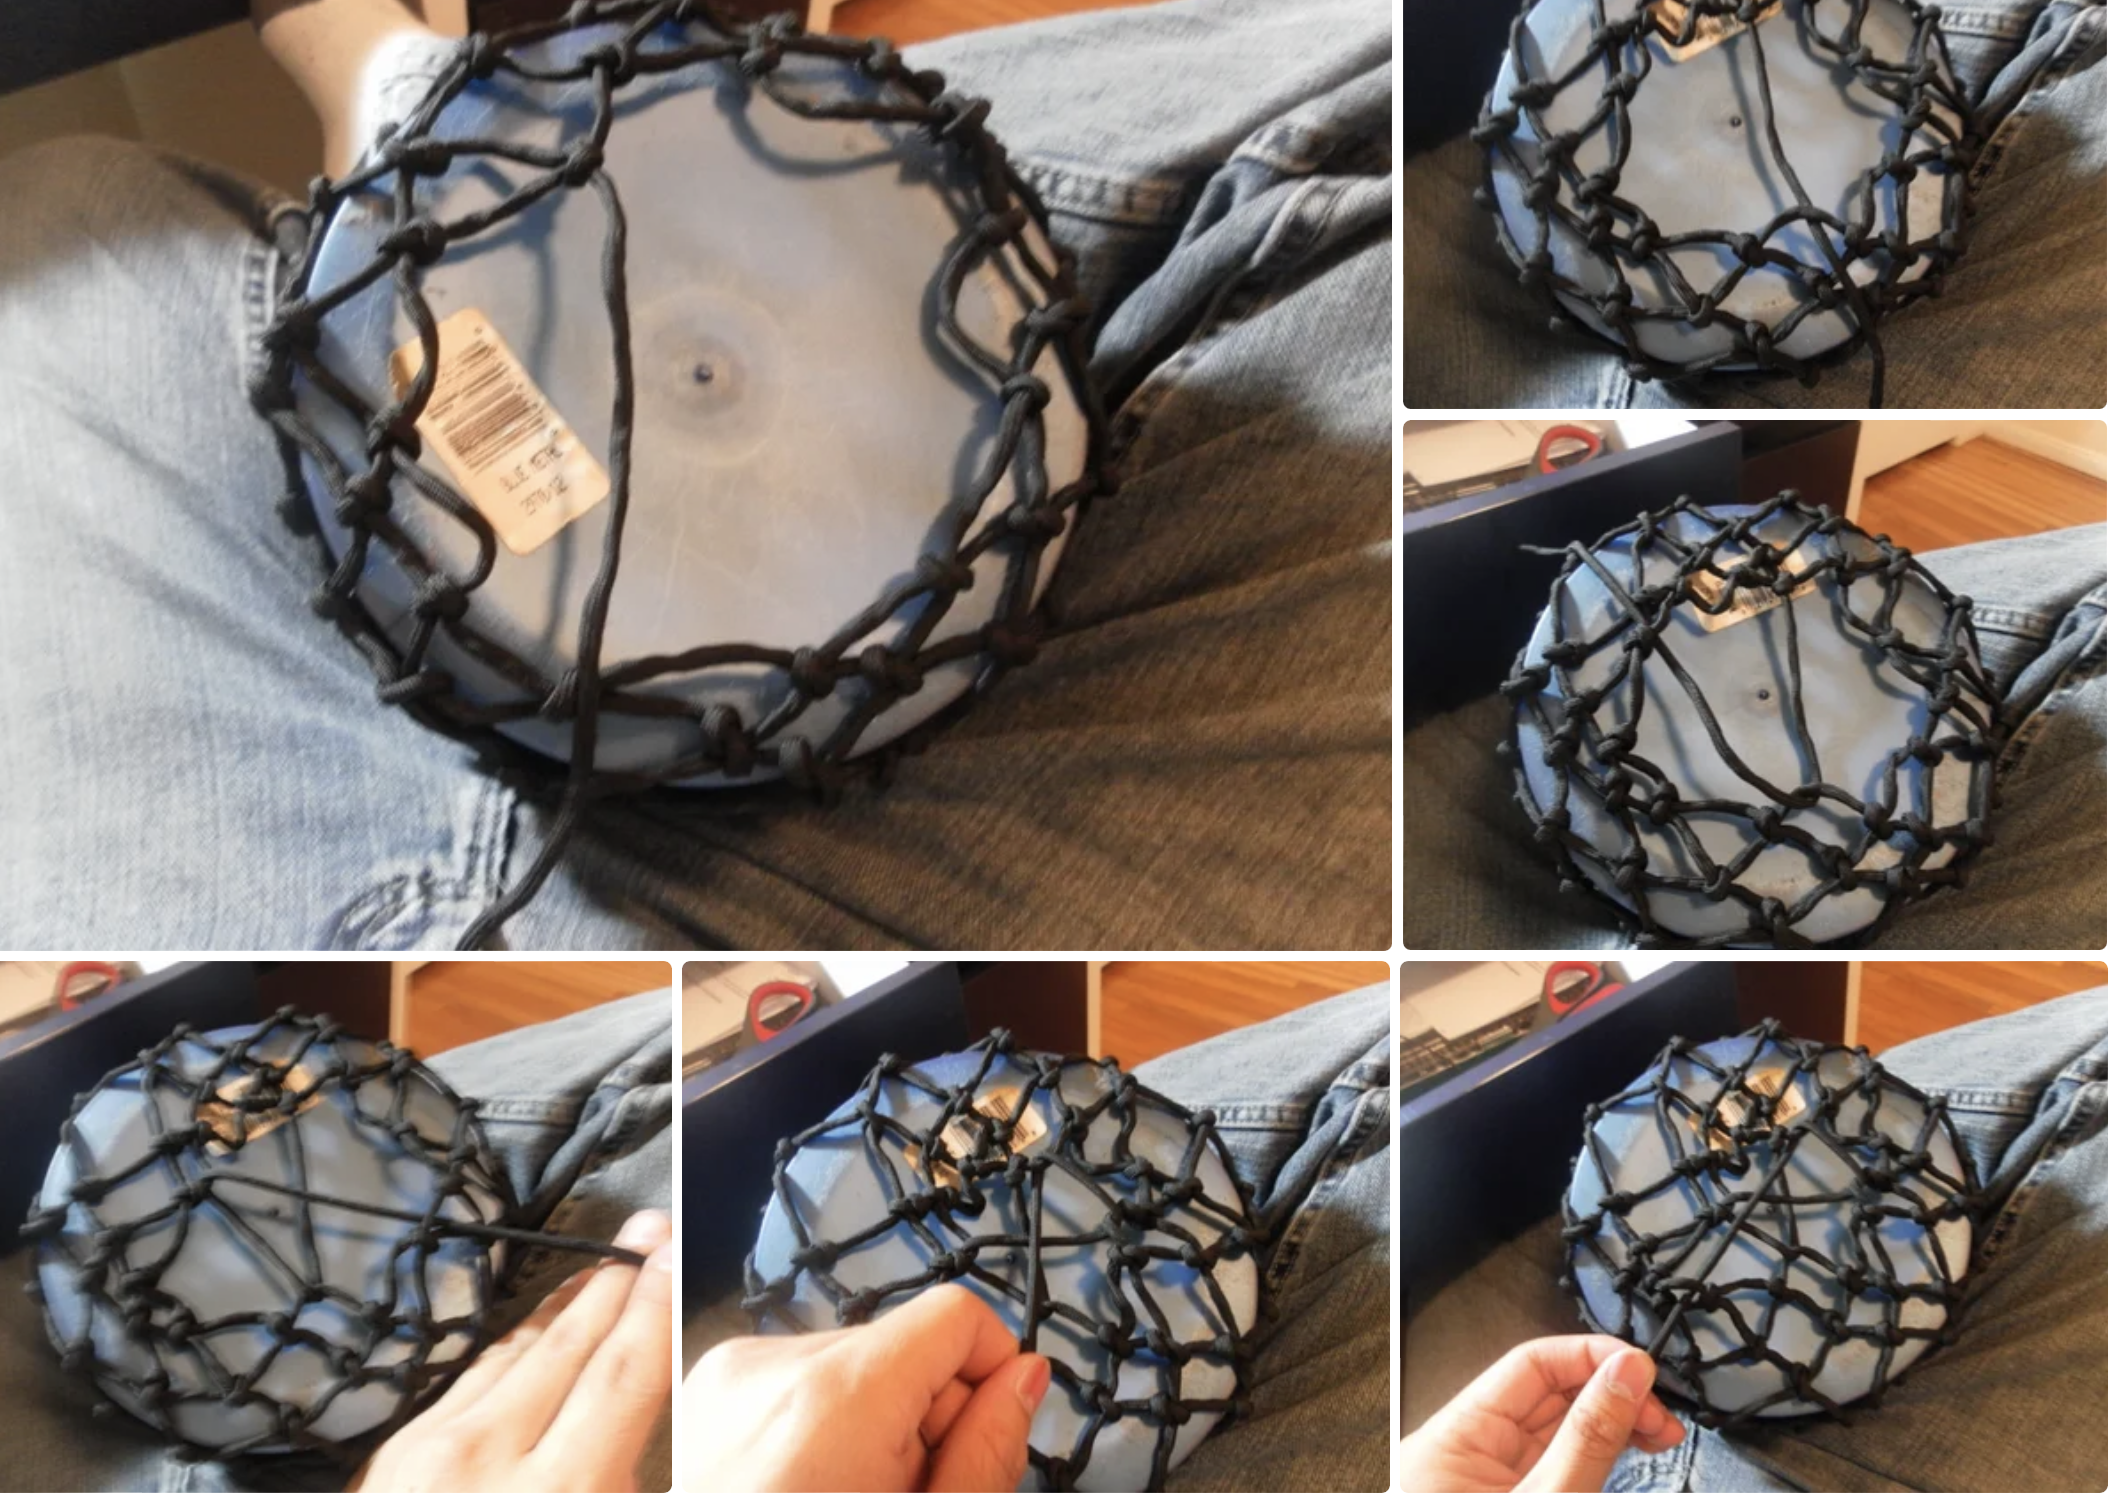
Finishing the Net Design 1. Once you’ve made your bag as long as you’d like it, it’s time to end! Simply take the line that you’ve been working with and weave it through all the loops that remain on the bottom layer. You can crisscross the weavings or you can go through all the loops in a giant circular motion.
2. Finish the bag by tying off the excess paracord so it doesn’t get caught.
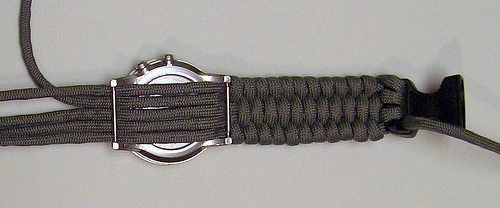
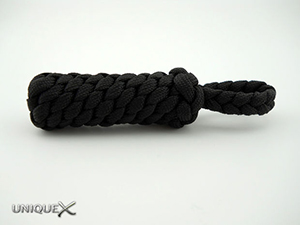
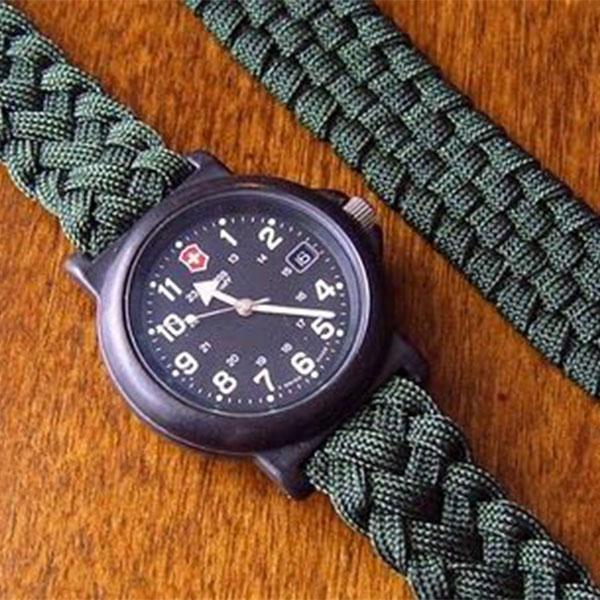
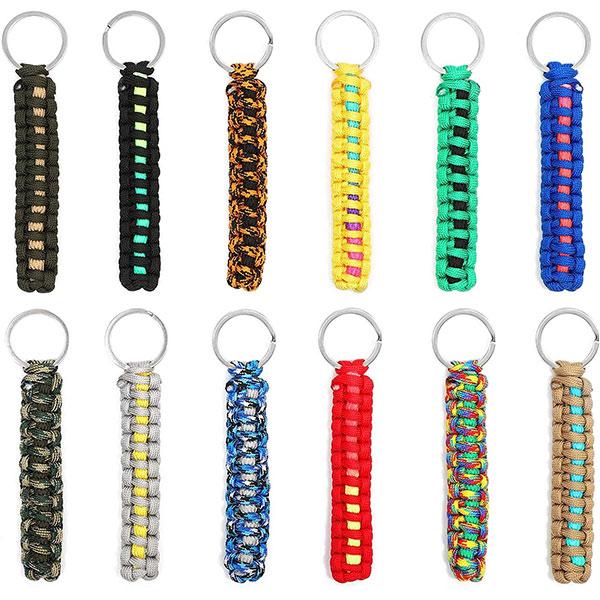
Thanks to Snipir for this tutorial Paracord Watch Design • About 10 feet of Paracord Make your own paracord watch • Watch with no band • Hemostats • Lighter • Tape Measure • Side release buckle • Scissors 1. Measure about 20 inches from one side of the paracord. This is where you'll loop in the buckle. 2. Once attached, you'll have the longer section which will be your working end and the shorter end which is just attached to the buckle ends and will be tucked in when finishing the bracelet/watchband. 3. Take the strands of paracord from the looped section of the buckle and run them over the watch pin, under the watch, and over the other watch pins. Then you loop the paracord around the other buckle end twice. 4. Measure the distance between the buckle ends for your wrist size. The distance should be equal to your actual wrist diameter. The weaving process will stretch this original spacing of bracelet/watchband about another inch after tightening as you reach the finishing point. Make a Paracord Watch 7. Once you've reached the point where your watch will be centered, push the watch tight against the woven cord and bring your working strand thru the pin along side the other cords under the watch, and back through the other pin. Continue weaving the paracord, keeping a uniform look, and tightening as you go. To finish up, you'll take the working strand around one of the outer cord, so it's coming through the under side of the bracelet/watchband. Make a Paracord Watch 8.Take your hemostats and work them through about three of the center weaves, towards the buckle end. Grasp the working strand and pull it back through the center weaves. 9.Trim the end with your scissors, quick melt the end to prevent the cord from fraying, and tuck it under the weave. 10. Now do the same with the shorter end of cord and you're done. Paracord Keychain • 3 strands of Paracord measuring about 40 inches long each • Scissors • Lighter • Ruler or tape measure • Masking Tape 1. Gather the three strands together and then measure from one end down to 17 3/4 inches. Hold the three strands at the 17 3/4 point, and then grab a strip of tape to secure the paracord together (make sure to place the tape edge against the 17 3/4 point). 2. Begin braiding the three strands by bringing the outermost right-hand strand over to the left. Then bring the outermost left-hand strand over the strand to its right. Continue this process of right-to-left until the braid length is 3 1/2 inches long and then tape the strands together to hold them in place at the point you just measured. 3. Bring both taped ends together forming a loop; securing them together with a strip of tape. From the top of the strip of tape (the loop end), measure down 2 1/4 inches and then secure the strands with tape at that point. Tying the Crown Sinnet The knot used to tie the fender is called a Crown Sinnet and can make a great looking decorative design to wrap objects in paracord. 4. From the bottom of the tape, bring the strands back up towards the loop. 5. To tie the Crown Sinnet, make a backward "C" from each strand laying each strand on top of its neighbor to the left. Pull the strands tight. 7. Repeat the same procedure laying each strand on top of its neighbor to the left. Pull the strands tight and repeat until you reach the end of the tape. Finish 8. Begin the steps to tie the Crown Sinnet but this time, instead of going over the top of every strand's neighbor and pulling tight, go under each strand and pull it tight. 9. Once you've tied your last knot, tuck each of the loose ends under their neighbors and behind the strands as shown: 10. Use the scissors to cut the cord as close to the final knot as possible. Use the lighter to singe the edges and keep them from loosening. Paracord Bracelet Design • About 10 feet of Paracord paracord bracelet • Lighter • Tape Measure • Side release buckle • Scissors 1. Measure the diameter of your wrist by wrapping a single line of paracord around your wrist. Make sure it’s nice and snug and with a marker, make a line across the paracord while it is wrapped around your wrist. Straighten out the paracord and measure the line.  This will be used for reference later. 2. Take the 10 foot line of paracord and fold it in half. 3. String the two loose ends through the male end of the buckle and pull them through the loop that the 10-foot line makes at the other end. Pull it tight and it should look like this:
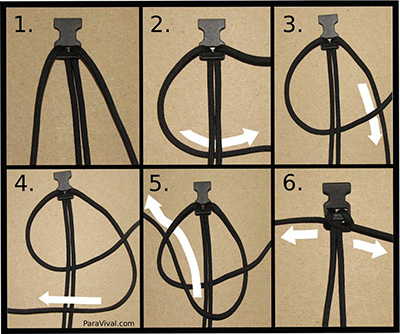
4. Measure the line to the diameter of your wrist and place the female end of the buckle.
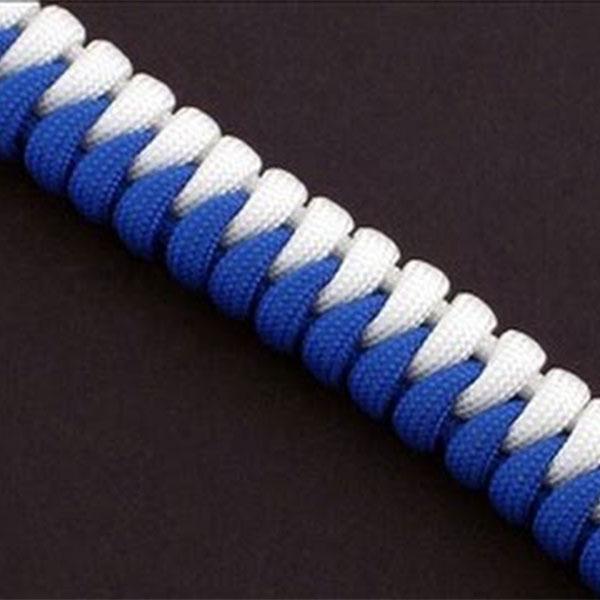
5. Position the bracelet with the female buckle at the top. The two loose ends of paracord should be coming up through the buckle. Take the left paracord line and pull it under the two lines of the paracord bracelet. Then place it over the top of the right loose end. 6. Then take the loose end on the right and place it over the top of the two bracelet strands. Then pull it through the loop that you made on the left side with the left loose end. Pull the two loose ends tight so they tighten against the buckle. For the next section, you’re going to basically repeat steps 6-8 but start with the opposite end. 9. Take the loose end on the right side and pull it underneath the two strands of bracelet. Make sure it’s on on top of the loose left end. 10. Then take the loose end on the left and place it over the top of the two bracelet strands. Then pull it through the loop that you made on the right side with the right loose end. Pull the two loose ends tight so they tighten against the previous knot. REPEAT 12. Repeat steps 6-11 until the paracord reaches the end of the bracelet. If you need more room to braid, simply hold the male buckle firmly and pull the knots down the line. Finishing the bracelet 14. Take your loose cords and thread them through the remaining slit of the male buckle. 15. Slightly lift the last knot that you made and pull the two loose ends through the loop. 16. Cut the loose ends close (about ¼ inches) to the end of the loop and seal them off by using a lighter.

Thanks for subscribing!

This email has been registered!

Shop the look

Choose Options

Back In Stock Notification
this is just a warning